Easy And Efficient: Here’s How:
As we discussed last time , Amazon’s CreateSpace is a great resource to make fast, professional , and compact copies of your book for proof reading and editorial distribution.
As I mentioned, apples to apples, CreateSpace is a whopping 60%-80% cheaper than using Staples for copies. It is also cheaper than running a copy off on your personal printer and burning through a $20 cartridge. If you do the set-up right, you are going to be amazed at the slick, professional results at a much cheaper price point. Let’s get started.
1. Open an account
If you haven’t used CreateSpace before, simply sign in with an email address of choice and a password. Note: even though you have an Amazon account, you cannot sign up through with that existing account. CreateSpace and Amazon are not linked. You must sign in and create a separate account, including mailing and billing information. You will not be charged for anything until you place an order.
2. Input the Title information when prompted
This is all pretty standard stuff and it can be changed later. Note: You will be asked to accept an ISBN number that Amazon will provide you for free and you have to check a box to accept it. This is for the title and this version of your project only. You can use it if you elect later to self publish but you are not required to. If you go with an outside publisher, they will most probably provide you with the ISBN number.
Note: If you create a kindle version (e-book) through Amazon, that will have a different ISBN number. E-book creation can not be accomplished through Createspace! Ta da! That revelation took me a week to figure out! Creating an e-book that can be sold through Amazon will be through another arm of Amazon known as Kindle Direct Publishing also known as Kindle Select.
For now, let’s keep focused on the physical copy that we are going to produce here at CreateSpace.
3. Creating your Book
It is as simple as ABC and we are sticking with the analogy! There are three ingredients to this alphabet soup: Cover, Text, and Reviewing.
A.) Arriving at a Cover
Don’t be a clown and create a clown-car of colors and pictures once you see all the wonderful templates for the cover. According to my friend, one of the best book cover designers UK ever had, you should pick something simple and basic. This is NOT the final book so don’t try to make it so! This is not the final dream of your book. Focus on the work at hand: create an elegant vanilla cover with your book name and title. If the purpose is to also have people, beyond yourself, read the text, let them read it without your attempt at a pro cover. If you are giving it to a professional, don’t let your amateur show by giving them a whacked-out, multicolored, picture-choked cover that you have created. Nothing reveals amateur like that. Just follow the prompts and keep the design super simple.
Note: Most any template can be stripped down to the basics. You can adjust the cover color and the font color in the prompts. As you can see, I went with monkish simplicity: the white cover and black font combo. This is my latest book that is in the proofing process.
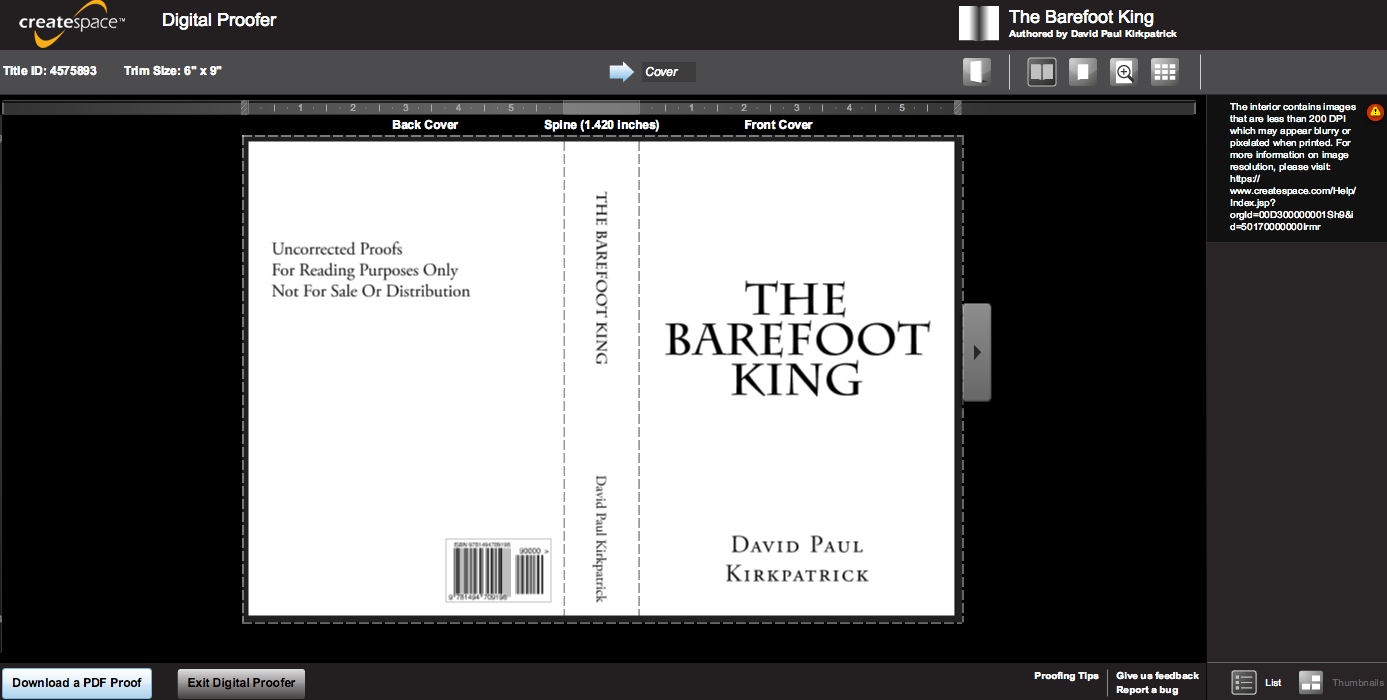
This is the proposed cover which you will be able to view in the Digital Proofer once you get to “C”) The Review
B.) Formatting a Special Word Doc, Saving in PDF, and Uploading
You will need to upload a pdf of the text of your book onto CreateSpace. To do this, you will first need to format a document in Word. Note: This will take a little trial and error which means you may have to change the word doc a few times and then upload the pdf a few times until you are satisfied with the look of the pdf . Remember, stay calm and patient. Rushing isn’t patience. Build some failure into your time schedule. This could take 2 or 3 hours the first time out.
# 1:Your current manuscript is not in a book form layout yet . You need to create a copy of the manuscript in a word document. If your manuscript is in word, create a duplicate. Keep the “original” manuscript and the CreateSpace doc separate. Label accordingly.
# 2: With that CreateSpace duplicate of the manuscript in word, follow the prompts on the CreateSpace set-up. I would recommend the CreateSpace default of a 6×9 book for the word doc margins and gutters. Note: Do not use the template from CreateSpace (which you can download). It’s confusing and a waste of time. Make the margin changes on the word doc where necessary. It’s a heckuva lot easier than the confusing template.
# 3: When prompted, check the Gutter box and conform the manuscript as prompted (for a 500 page book the gutter will probably be at .75) You need to create gutters – the middle area of the book – which is a bit bigger than the margin. Open any bound book and you will see the wide empty gutter in the middle of the two pages.
#4: Make sure that you check the box for Mirror Pages. Indeed, this is the “miracle box” that conforms the whole document. Checking Mirror Pages will make an appropriate right page and left page to make your book-look sweet and pro. As I mentioned in my last blog, I will write a follow-up blog with more specifics.
C.) Review the PDF in the “Digital Proofer” provided by CreateSpace
Once you have uploaded the document, you need to see what it looks like. The Digital Proofer is awesome and you are going to feel like a modern Gutenberg!
The tips on gutters, and mirror pages from above are really going to help you. Below is as near perfect pdf as seen through the Digital Proofer. This took me a few times to get absolutely right, so don’t give-up. Be patient and allow yourself some time to be thorough.
Note: I would recommend that you single space the whole document. It looks cramped in the proofreader below, but in the final physical book, it best replicates the qualities we know from a polished and finished bound book.
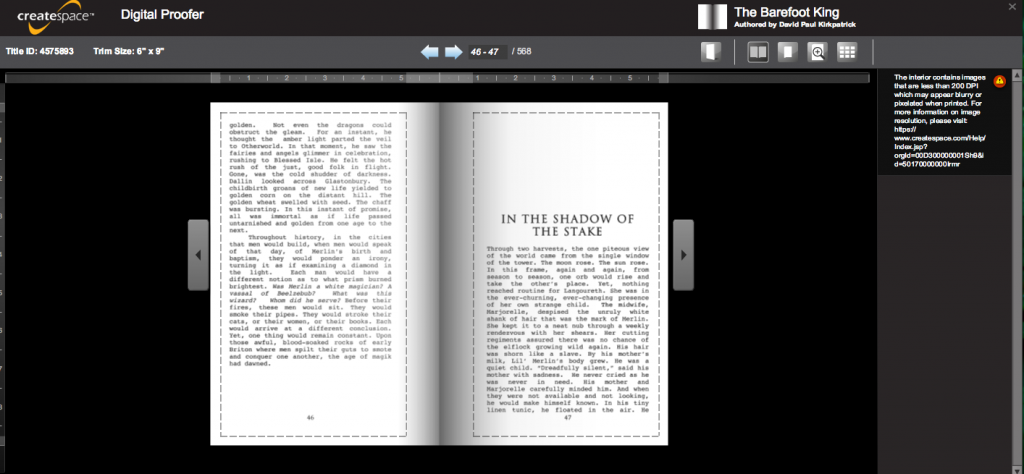
This is an almost perfect fit between text and margins. I approved this one for a proof print distribution of five copies.
With practice and with some discernment, you may , at times, want to override the margins by simply accepting what shows as an error( as in the case below). I have a few illustrations inside the body of the book, I wanted them to be bigger so I approved this page (even though it is showing on the right corner as an error). In general, if you have pictures, they look better if they are outside the margins. You can adjust the individual pages that they fall on.

It looks like an error but looks great on the printed proof — so you must use your eye as well.
Wrapping Up
Once you have been through the review process and are satisfied, just accept the version. Note: At the point of acceptance, you will get a note that CreateSpace is now reviewing for content and technical errors and will notify you by email that it is ready to print. The auto-note says up to 24 hours for the review process but, based on a half a dozen experiences, it has been around 12 hours.
When you get your congratulatory note that your book has been approved, then you can order. Note: You can not make additional changes on the approved copy unless you want to go through the approval process of 12-24 hours all over again. I have mistakenly done that in the past.
Remember, you can only order this version once (up to five copies) . Note: When I called the nice folk at CreateSpace and asked them how I could override the quantities and order ten copies, they said that the system does not provide an override. I asked what could be done and they suggested that I just run the same book through the approval process again to get an additional five copies. That is exactly what I did.
Next up, I will elaborate on some of the other tips I have learned in the “Proof Reader” process. Hope this has been helpful. Please let me hear from you if I have ways I can improve. Thanks very much.